Let's try MPLab!!!
MPLab to Program the PSLab
MPLab© X IDE

Microchip® is a famous company for PIC® microcontroller manufacturing. This American based company produces a variety of electronic components ranging from basic microcontrollers, EEPROMs, SRAMs, RF devices and many more. In the PSLab device by FossAsia, we use a PIC24EP256GP204 who's data sheet can be found from here. Apart from the high performing micro controllers, Microchip provides a powerful IDE to program these devices. This IDE is based on NetBeans IDE. The programming language is consists of C++ syntaxes and we can embed assembly commands like 'nop' to simplify the code. Documentation and guidelines on how to use this great IDE is available on their official web site. Here we're going to see how to install this in an Ubuntu 16.04 64bit PC.
Installing MPLab© X IDE
Step I
To install this software, first we have to download the tar ball containing the installer. The latest version can be found from their official site. Scroll to the bottom and look in the Download tab.
Step II
Next step is to download the installer MPLAB X IDE v3.61 to your PC. Here we are going to download and setup for Linux 64-bit IDE.Step III
Once the download is complete, extract the tar ball. Now you will see a shell file with the same name as the installer has been created. Actually extracted. We are going to use this shell script to install the IDE. To do that, first we have to make the shell file executable. Use the following command to make it an executable shell file. Make sure you are in the folder where the extracted file is.sudo chmod +x MPLABX-v3.60-linux-installer.sh
Step IV
Now the shell file got permission to execute. Next step is to run the installer. To do that simply type the following command in the terminal with root permission.sudo ./MPLABX-v3.60-linux-installer.sh
Once the command is executed, there will be a processing at the terminal;

Once it is complete, the installer will open with a nice GUI;
Step V
Click next to proceed to the License Agreement.
Step VI
Read the license terms and details and if you agree to those, tick the radio button "I agree the agreement" and click Next button. If you happen not to agree, then you will have to stop from here.
Step VII
Now you will have to select the installation directory. I recommend to leave the default location untouched and click Next.
Step VIII
In this window, select the necessary tools you want to install. Also notice that if you keep the tick ON under Help Improve MPLAB X Products, it will send anonymous data about your usage to help MicroChip improve the IDE.
Step IX
These are the final steps of our installation. We have set all the necessary settings and once the Next button is clicked, Setup will start installation.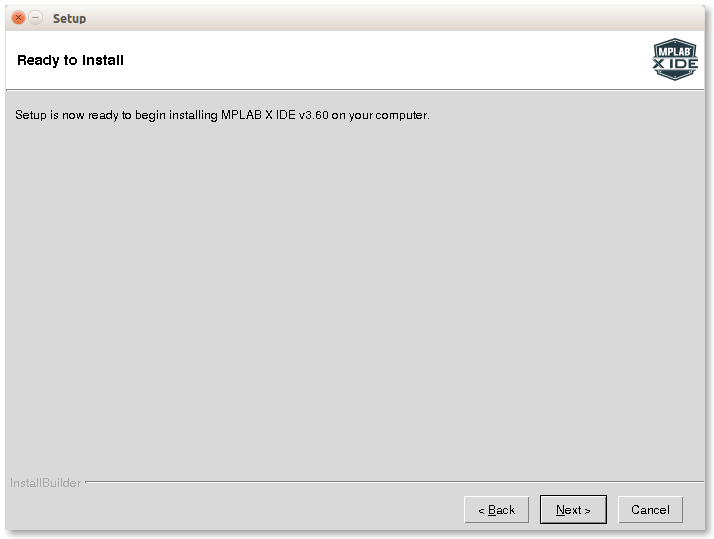
Step X
Once the installation is complete, Click OK to exit the setup and you will have MPLab X IDE installed on your PC!


Hello There,
ReplyDeleteInteresting piece! Great to see someone write MPLab to Program the PSLab who is not a fanatic or a complete skeptic.
is there any function or library that will work with databases, like sql or oracle db. C just works with text debases? with xml too?
pls address me to some books about it, I am trying to bind an application for database mining
By the way do you have any YouTube videos, would love to watch it. I would like to connect you on LinkedIn, great to have experts like you in my connection (In case, if you don’t have any issues).
Thanks and Regards,
Uday